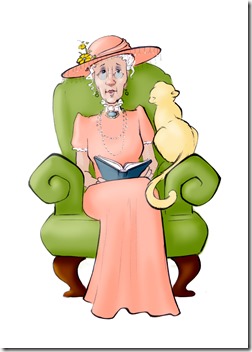
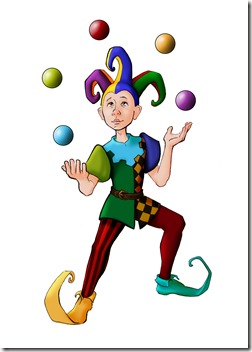
I had fun experimenting with a new Photoshop technique as I worked on these card characters.
I scanned my pen drawing and after adjusting the levels to get rid of background noise from the scan I set the pen layer’s blending mode to “multiply.”
Then I painted each object a solid color on it’s own layer. This allowed m to use the hue/saturation slider to easily play around with color schemes.
After I had the right colors I created a layer for the shadows by painting the shadow areas with a single dark color and setting the layer’s blending mode to “color burn.” If your image has a white background this blending mode works extra well because the shadow color will disappear on white, which means you don’t even have to stay in the lines!
I created the highlight layer by painting the light areas with a single light (almost white) color, and setting the blending mode to “soft light.”
Add a few little details here and there and viola! it’s finished! This is SUCH an easy method for quick digital art. I should have tried it out ages ago.


It’s always great to see what you’re up to!